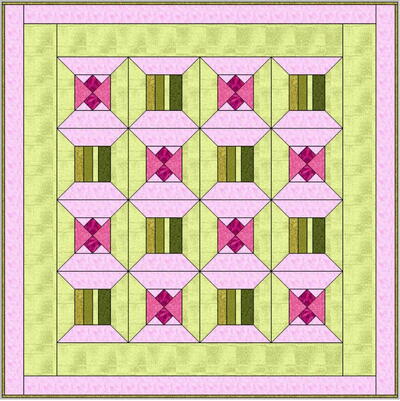
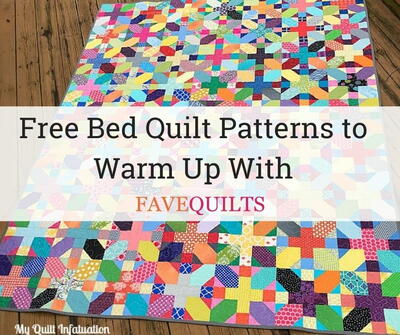
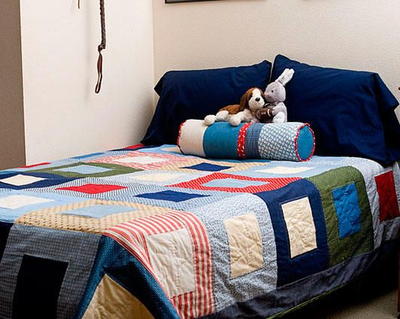
Sleeping on Squares Bed Quilt
When it's time for your little one to move into a bigger bed, help them feel safe and secure by making them a Sleeping on Squares Bed Quilt. The simple square in a square pattern has a simple look that complements different room designs, and it's a design that both boys and girls will like in their favorite colors. Quilters who are making a bed quilt pattern for the first time will be able to work on their piecing with results that you'll be proud to show off. You may even end up quilting another one for yourself!

Materials:
- Fabrics suggested in chosen quilt instructions
- Thread for piecing, thread for basting
- Thread for quilting
- Full-sheet sticky label with peel-off backing,
- Needles
- Walking foot for sewing machine
Tools:
- Ergo Control Rotary Cutter (45 mm)
- Cutting Mat (18" x 24")
- Short Cut® Snip (6.5")

Find more ideas for kids in our collection of 26 Free Quilt Patterns for Kids.
Instructions:
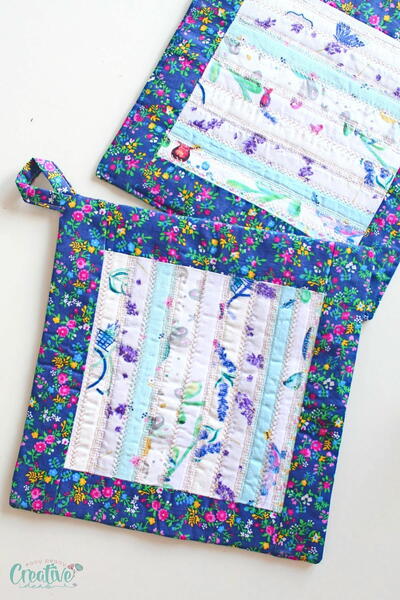
1) For this sample block, to make understanding how the frames are constructed easier, I used 2 different fabrics. For the actual quilt, I used the same fabric on all 4 sides of the frame. I began by stitching the 2 shorter rectangles of fabric to the sides of the square center panel.

2) Next I stitched the longer rectangles to the top and bottom of the center panel (and the now attached sides).

3) Once the pieces for the block were stitched together, I used the 45mm Comfort Grip Rotary Cutter and the 6.5 x 24.5 inch Acrylic Ruler, along with the grid on the 18.5 x 24 inch cutting mat to square it up.

4) Beginning with square blocks, combined with careful, accurate sewing of my seams made aligning the squares and stitching them together a piece of cake.

5) When it came to basting the quilt, I read many different opinions on whether it was best to use safety pins or to use hand basting. Reading that safety pins would add a lot of weight to the quilt, making it more difficult to maneuver when machine quilting, I settled on hand basting. Since the basting alone took me an entire day to complete, I've decided I'll try safety pins next time and make my decision on which method I prefer to use from that point based on my own experiences.

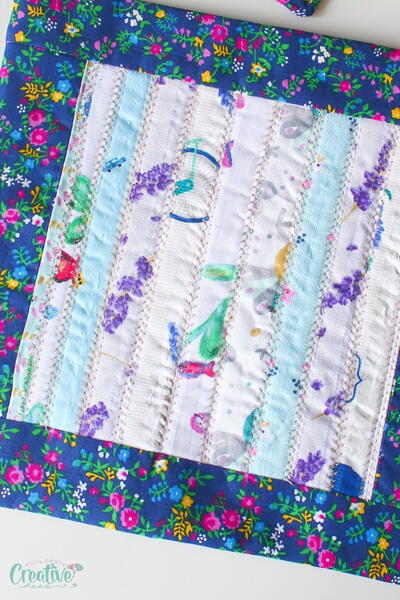
6) After basting the quilt, I completed the machine quilting. I kept the quilting extremely simple, using straight lines only that ran parallel to my seams.
Having worked with small quilts before, I knew using a regular presser foot on my machine caused my top layer to pass through the machine differently than the bottom layer. This caused the layers to get misaligned and often times, even with stopping periodically to raise the presser foot to relieve the tension on the fabric, I'd end up with bunched up fabric on my top layer by the time I reached the edge of my quilt. I invested in a walking foot for my machine and I had no problems with the material bunching up. It was a great investment!
Instead of dragging along the fabric the way a presser foot normally does, the walking foot is designed to feed the top layer of fabric through, just as the feed dogs of the machine do for the bottom layer.
I started off with great results!

I also had some not-so-great results.

I progressed to downright awful results and found myself considering my earlier success beginner's luck. I'd lost the nice even stitch length I started with. In fact, my stitches weren't even distinguishable. I ripped out stitching, restitched, and ripped out more until I'd used an entire spool of thread. In frustration, I took my machine and the quilt to our local quilting shop and asked someone more experienced to try quilting on my machine. She immediately diagnosed my machine with a tension problem and referred me to a machine repairman. I was relieved to hear there was still hope, that it might not be impossible for me to learn to machine quilt! I also learned I should have asked for help a lot sooner rather than spending a day becoming so discouraged.
The hand quilting stage went much smoother. It was a slow process, taking me nearly an hour to quilt each star. There are 30 stars on the quilt so I did a lot of quilting while watching TV. Small stitches are desirable but this being my first quilt, even stitching was my focus this time around. Hopefully my stitches will become smaller the more I practice.
I did not transfer my pattern to my quilt with a writing implement, nor did I use freezer paper to create a temporary template, both of which are common ways to assist a quilter in stitching desired shapes and patterns on a quilt. I followed the advice found in the book One Line At A Time by Charlotte Warr Andersen and printed my template on a full-sheet sticky label with peel-off backing. This worked wonderfully!
7) When it came time to do the binding, I cut my binding on the bias (cut at a 45 degree angle to the selvedge) of the fabric rather than the cross grain (90 degrees to the selvedge) or the lengthwise grain (parallel to the selvedge). While binding cut on the bias is a more involved process, I wanted the durability it provides so sacrificing extra time was worth it to me. I tried a process new to me that allows you to sew only 2 seams to create yards and yards of continuous bias binding rather than cutting individual strips and sewing them together one at a time. It took some time to follow and understand the directions but, now that I've done it once, is a process that will definitely save time in the future.

8) Attaching the binding seemed to go smoothly until I reached the end and discovered I had gotten it twisted on itself slightly. I realized that in my effort to be consistent and hand stitch the folded edge of the binding down at the exact same distance from machine stitched line (you can see it peeking out from under the binding between the clips), I didn't consider that the machine stitched line was not perfect all the way around the quilt, nor was the binding folded perfectly in half all the way around. It had gotten off slightly as I stitched it to the quilt initially. I should have followed the natural tendency the binding wanted to lay as I folded it over to the back of the quilt rather than forcing it to lay as I wanted it to. It's not a mistake that drastically affects the look of the quilt and no one else is likely to notice but it's still a lesson learned for future quilts!
I should mention these binding/hem clips are fabulous! They are much quicker to use than pinning and you don't get stuck by pins as you maneuver the quilt.

Read NextStay Home Quilt Pattern
Your Recently Viewed Projects
Thanks for your comment. Don't forget to share!
mayac97 6323840
Jan 20, 2017
A little disappointing that this was posted with no directions for the actual quilt or the binding process. I've been looking for a quilt for my 13 year old son and this would be perfect! The binding process is interesting, as I'm sure all quilters fuss with binding.
CARINLYNN14 861492 1
Jun 08, 2014
I love the pattern, but there no yardage for the sizing. would love to make it but i need to know how much fabric I need.
FaveQuilts Editor MHS
Jun 09, 2014
Hi Carinlynn! Since this is a pattern from Fiskars, unfortunately we don't have the answer to your yardages question. I'd suggest contacting Fiskars to see if they can get in touch with the designer. You can contact them here: http://www2.fiskars.com/Customer-Service/Comments == I'm sorry I couldn't be more help! Good luck!
CEberhart
Nov 29, 2013
I appreciate the idea in the article but it would have been handy if the sizes of the cut pieces and how many of each were included in the instructions. Also, the binding method used sounds interesting but what's it called? Where can one find more detailed information on this?
Report Inappropriate Comment
Are you sure you would like to report this comment? It will be flagged for our moderators to take action.
Thank you for taking the time to improve the content on our site.