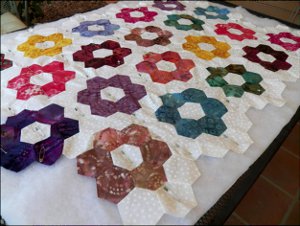
Grandmother's Flower Garden Quilted Pillowcases Part 2

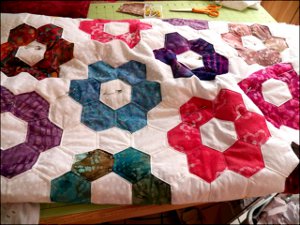
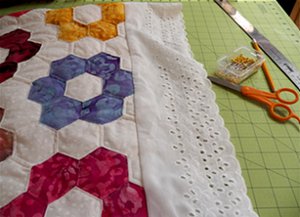
Grandmother's Flower Garden Quilted Pillowcases are a great addition to a flower garden quilt or a plain bedspread that will make the flowers pop. Part 2 of this tutorial shows you how to quilt along the outlines of the hexagons and finish the pillowcases with eyelet lace trim.
Project TypeMake a Project
Time to CompleteWeekend project
Primary TechniquePieced

Materials:
- Pieced pillowcase top from Part 1
- 1 yard cotton muslin
- 1 yard low loft batting
- 1-1/2 yards wide eyelet lace to go around the pillowcase opening - any wide width you like will work
Instructions:
-
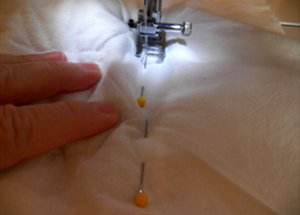
Layer the pieced fabric with a low loft batting and muslin.
-
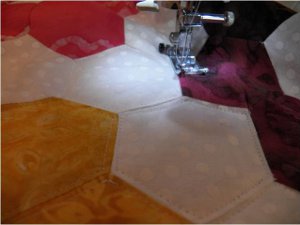
Quilt by sewing just inside the seam on each edge of every hexagon. DO NOT quilt any hexagon that is on an edge - any hexagon that doesn't have another hexagon attached to each side of it. You'll be joining this fabric into a tube and need to have these edges unquilted.
-
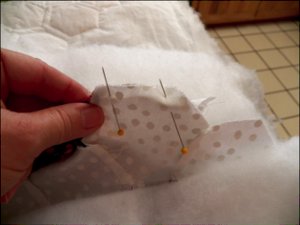
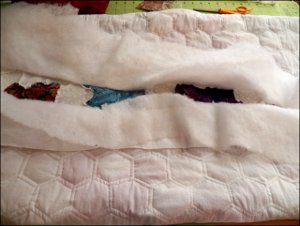
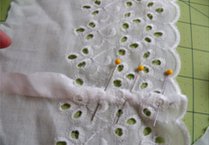
When you are finished quilting each hexagon (except for the edge hexagons), pin the batting and lining fabric back away from the two edges that will be joined to make a tube (side A to side A on the diagram).

-
Join the edge hexagons on the two side A's together to make one continuous tube of fabric.
-
Turn the tube inside out.
-
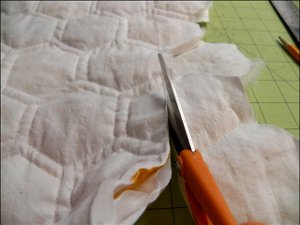
Take out the pins that were holding the batting and lining back. Trim the batting so that the edges just touch each other. Try for no overlap. Hand sew the edges together (just touching) in a whip stitch.

-
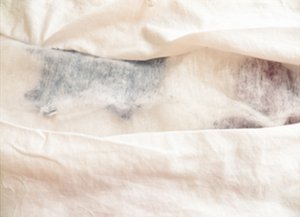
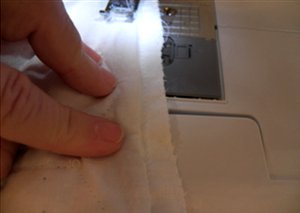
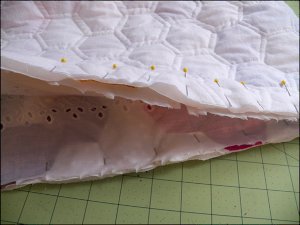
Pin the lining together over the batting so that the pins are right at the bottom where the lining meets the quilted fabric and batting.
-
Keeping the rest of the quilt free, sew a seam line along the pin line. Trim close to sewing and finish the edge with a zigzag stitch.
-
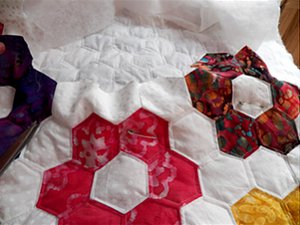
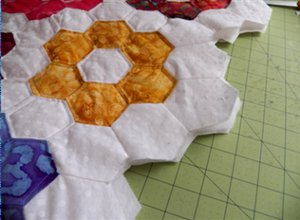
Turn the tube back to right side out and quilt the line of hexagons that you pieced together last, beginning at the middle and working to each side. This part is a bit physically difficult because of having to keep the rest of the tube out of the way! You'll see why we didn't quilt the whole pillowcase when it was in its tube form.
-
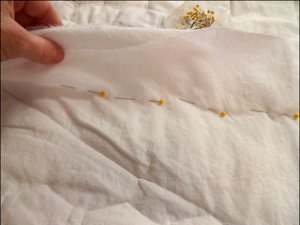
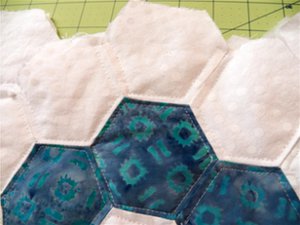
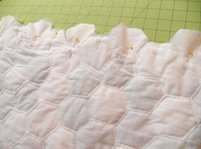
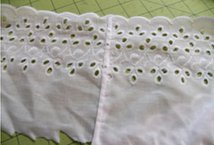
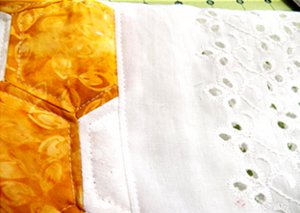
Quilt the edge hexagons. Since we'll be trimming this piece you don't need to quilt the very top sides. Do this in one continuous stitch line like in the photo below right.
-
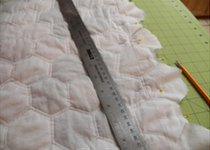
Turn the tube inside out again. Pin one end of the tube together and draw a straight line (pencil is fine) along the edge where both sides meet. You'll have a lot of hexagons past this edge that don't meet up with hexagons from the other side. Sew a seam along this pencil line and trim close to sewing.
-
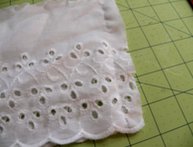
Measure a piece of eyelet lace the length around your pillowcase plus one inch. Since this seam will be very visible, we want to finish it. Put ends of right sides together and sew a 1/2 inch seam. Trim one side of the seam 1/4 inch. Turn the other side of the seam around the trimmed side and pin. Top stitch 1/4 inch from the seam.
-
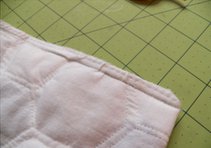
Draw another line on the open end of your tube like you did on the other end. Cut along this line.
-
Pin right side of lace tube to right side of pillowcase and sew together.
-
Turn pillowcase right side out and top stitch on the lace 1/4 inch from the seam.
-
Press and you're finished!
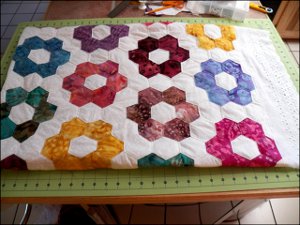
This is Part 2 of the Grandmother's Flower Garden Quilted Pillowcases tutorial. Click here for Part 1.
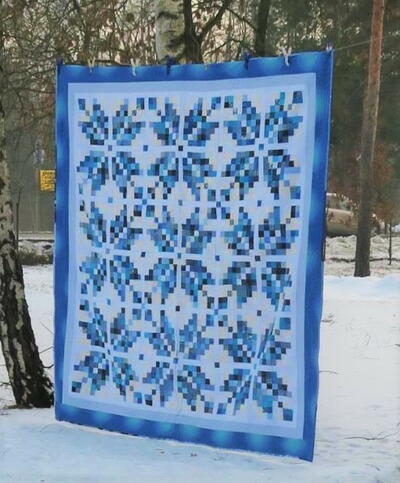
Read NextNorwegian Snowflakes Quilt Pattern
Your Recently Viewed Projects
Thanks for your comment. Don't forget to share!
swtsummerflww46don na 6596600
Feb 08, 2013
While I do appreciate the fact that we can get free patterns here and i do enjoy looking for new projects to tackle I really wish that the tutorials told what size hexs to use for the pillow cases i think they are 21/2 inches but i am not sure if anyone knows please send me a email or some thing thanks and thanks again to fave quilts for this site
paula 4248586
Oct 14, 2012
I was so excited to find this project. My greatgrandmother left me with the top flower quilt in 2 pieces, not big enough for a quilt, but definetly for pillow cases. Can't wait to get started. Thank you
Report Inappropriate Comment
Are you sure you would like to report this comment? It will be flagged for our moderators to take action.
Thank you for taking the time to improve the content on our site.